Getting Started
last updated: 2025-09-25
Welcome to DownToZero Cloud! This guide will walk you through the steps to get started with our cloud services. Whether you’re a beginner or an experienced user, this guide covers the essential steps to begin leveraging the power of DownToZero Cloud.
Step 1: Create an Account
To begin using DownToZero Cloud, you first need to create an account:
-
Go to DownToZero Cloud Signup.
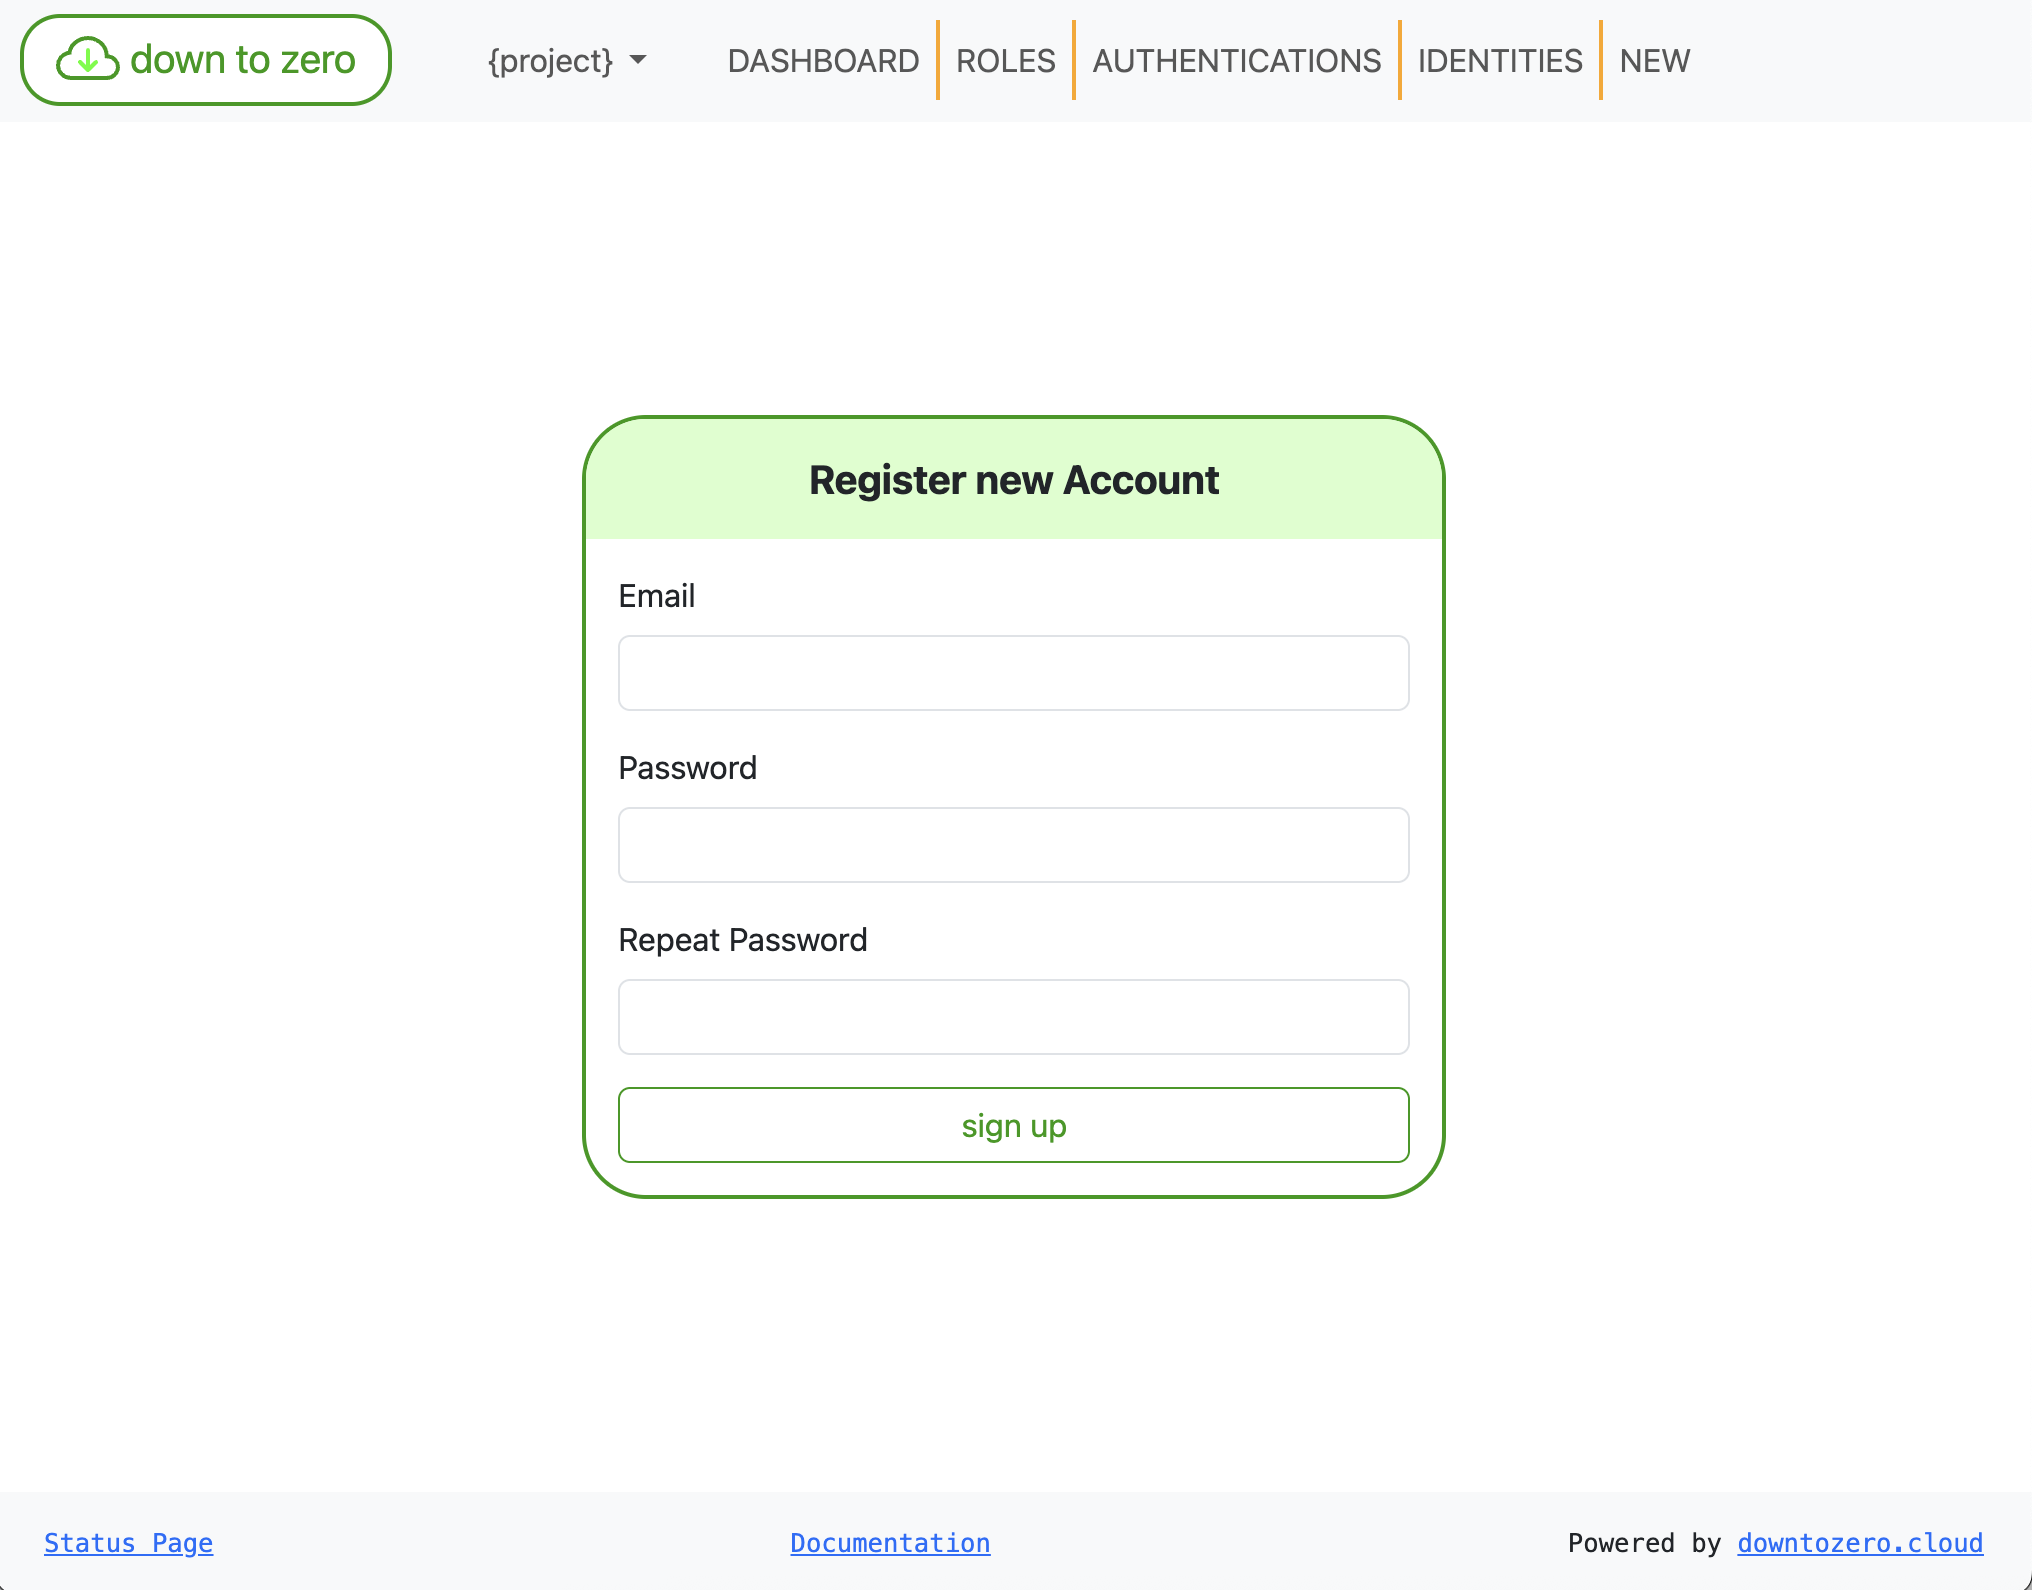
-
Enter your email and password
-
Click the
Sign upbutton -
Once registered, you can log in via the DownToZero Cloud Login.
For cURL, please sign up via the Web UI, then generate an API key for API access.
-
Go to New API Key.
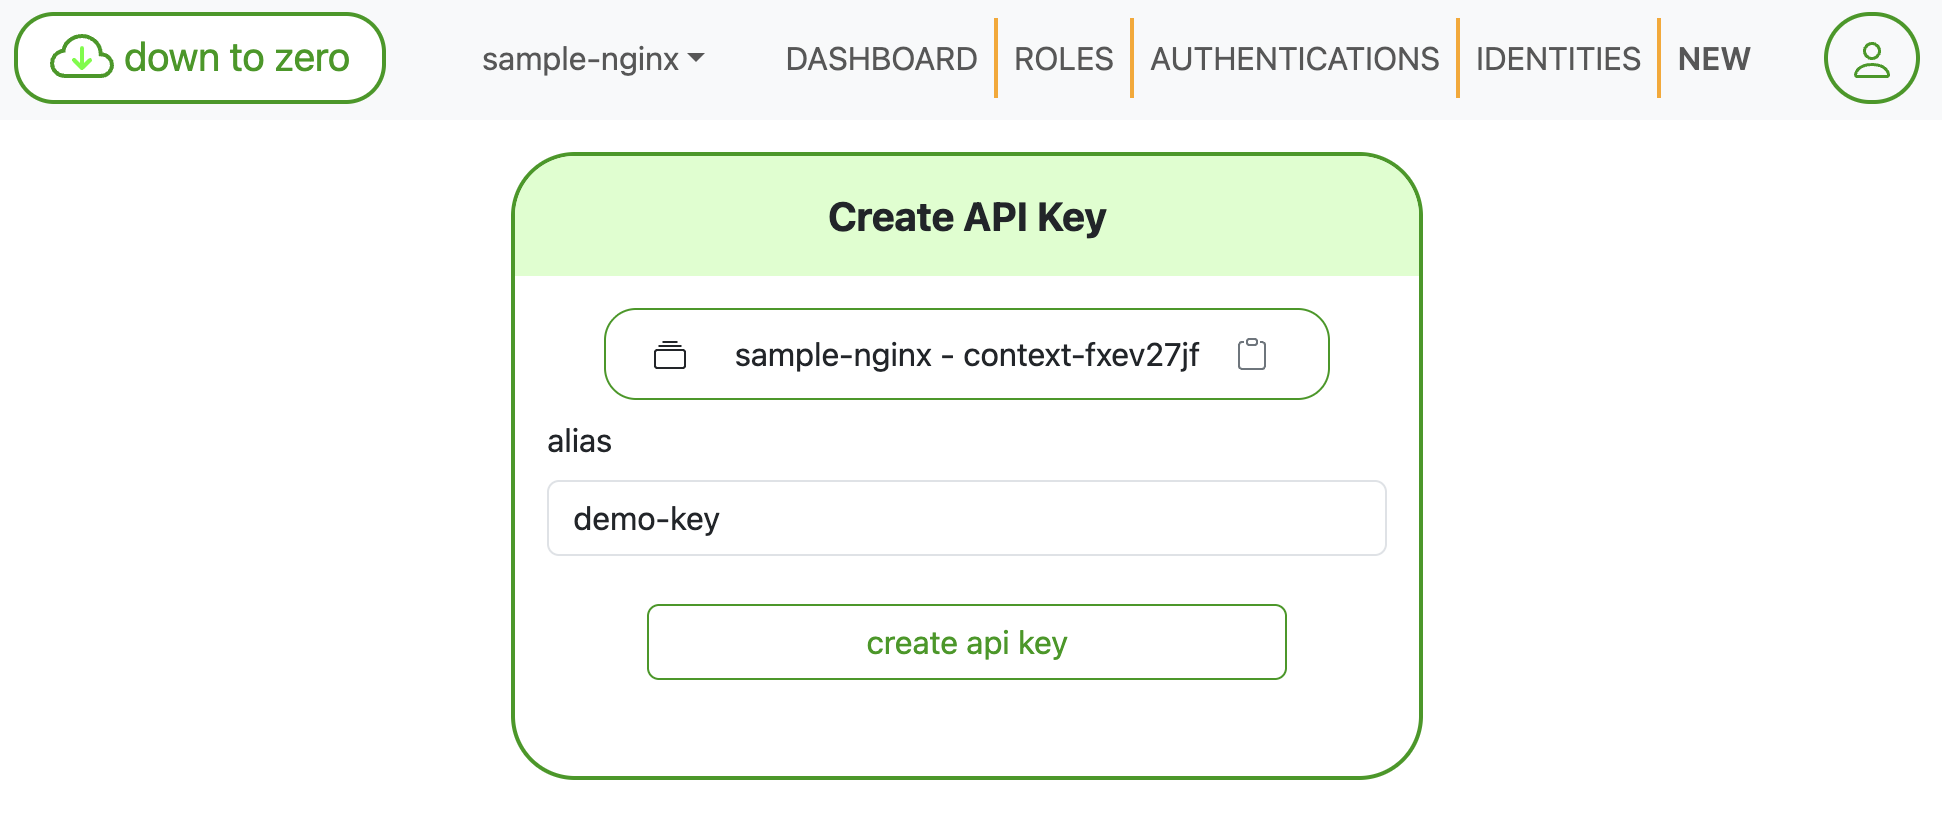
Click the
Create API keybutton -
Export the generated API key
export DTZ_API_KEY=apikey-sample1234
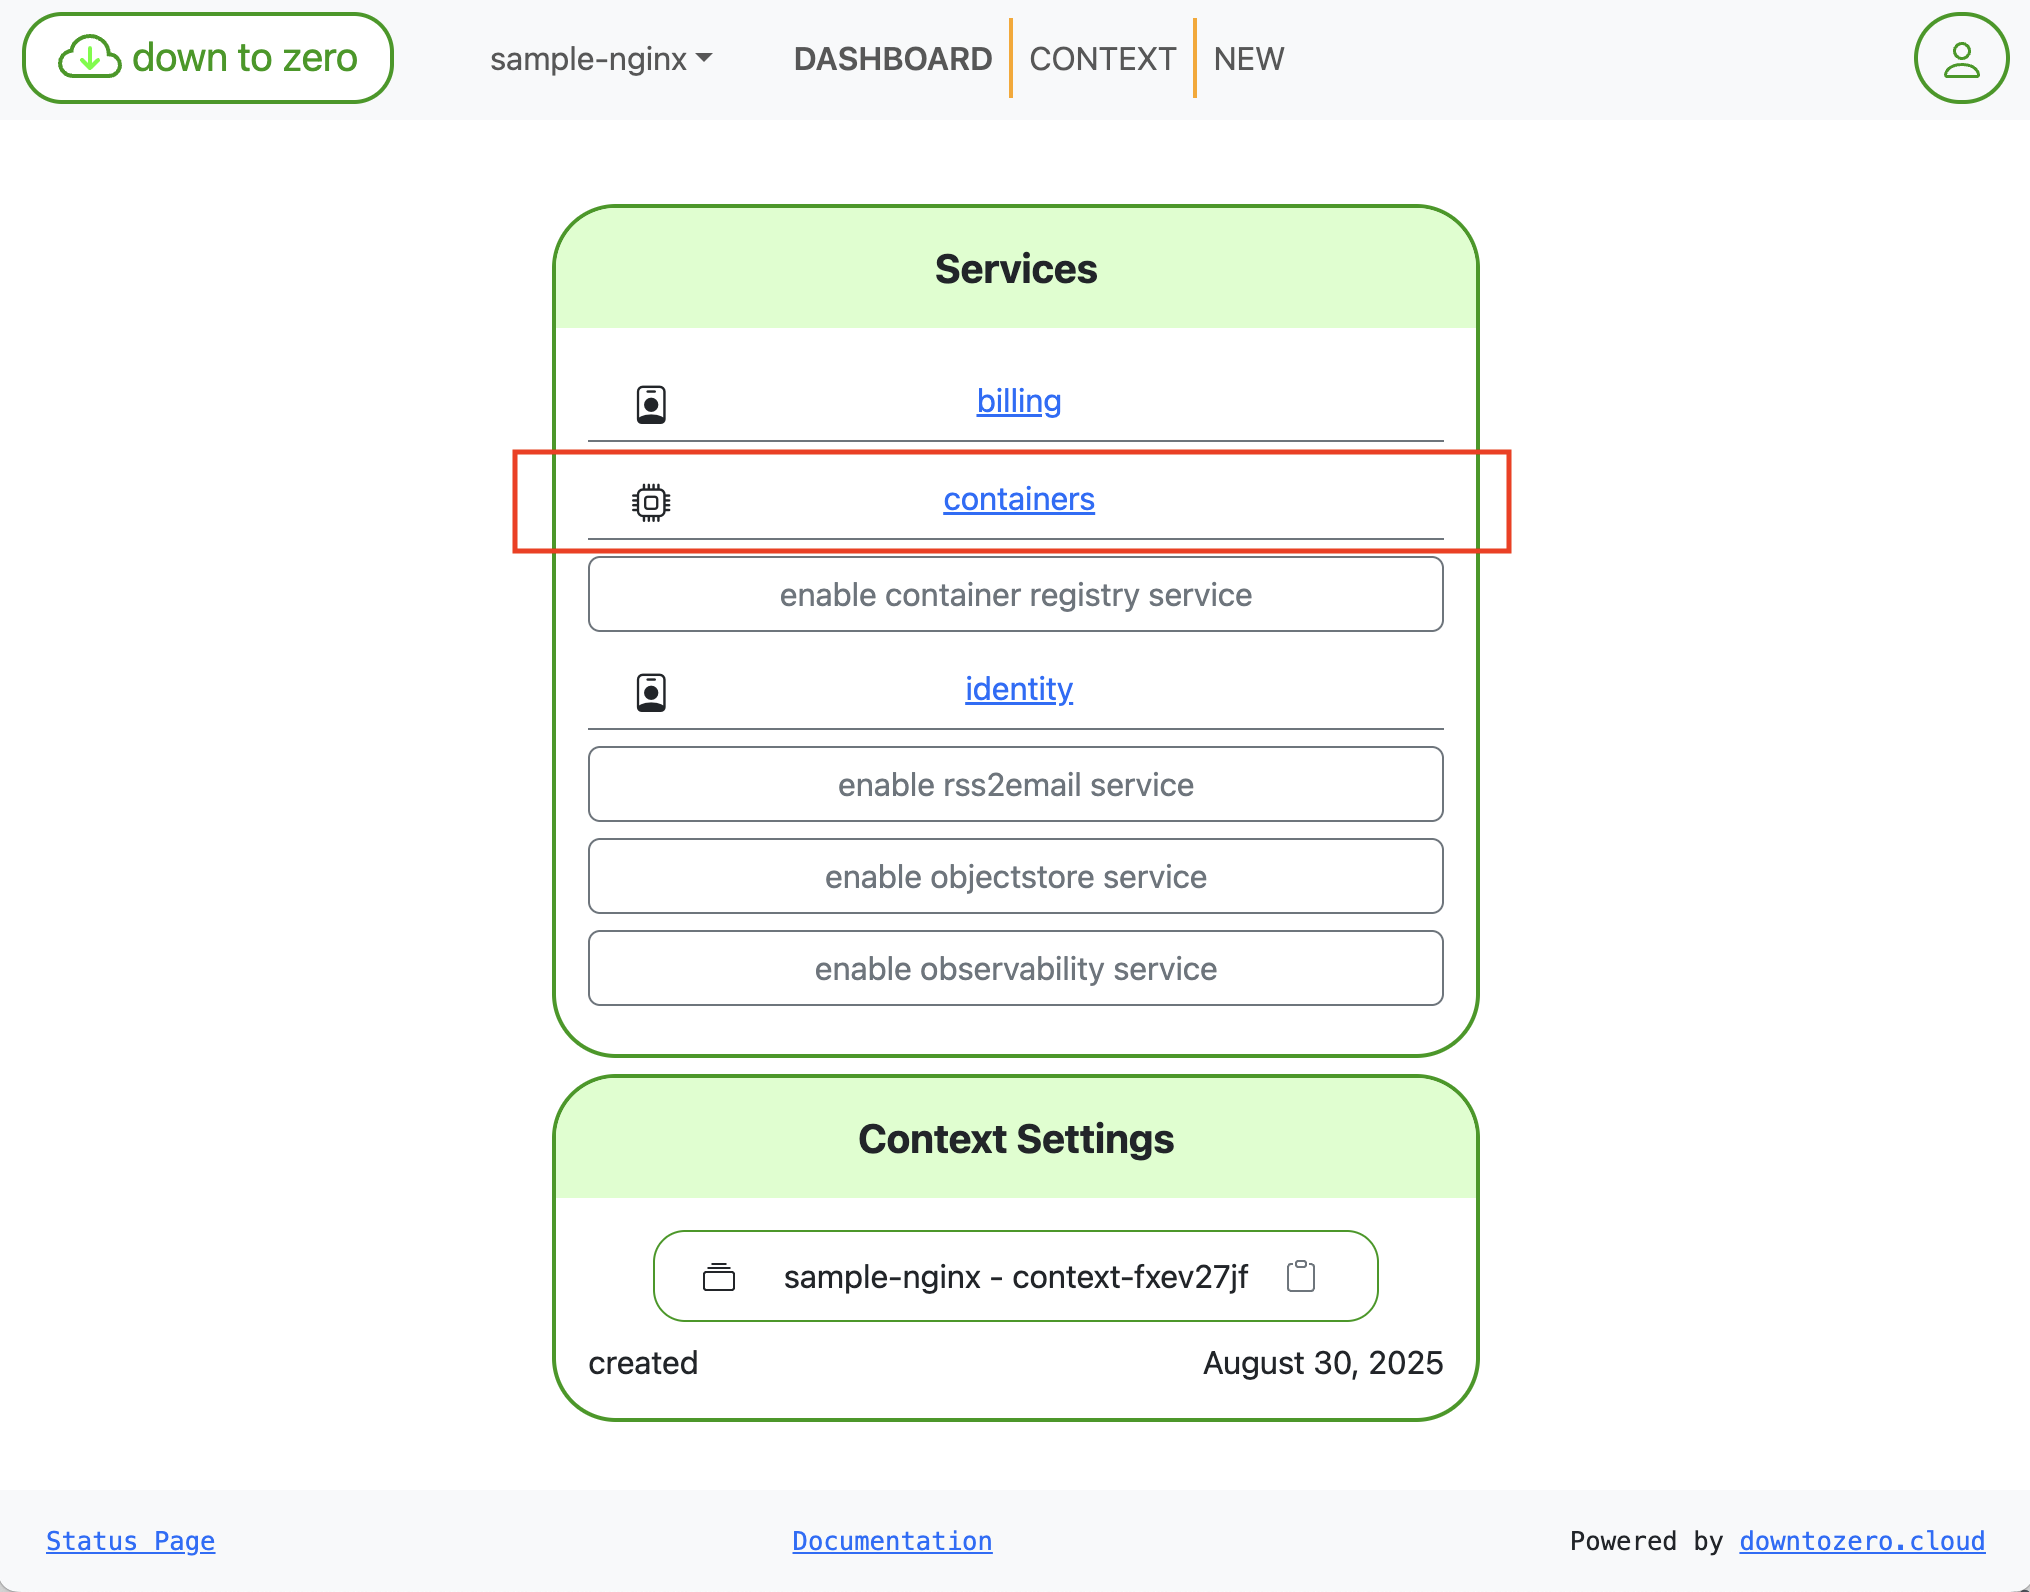
Step 2: Enable the Container Services
-
Enable the Container Services

-
Open the Container Services
-
Enable Container Services
curl -X 'POST' -H "X-API-KEY: $DTZ_API_KEY" 'https://containers.dtz.rocks/api/2021-02-21/enable'
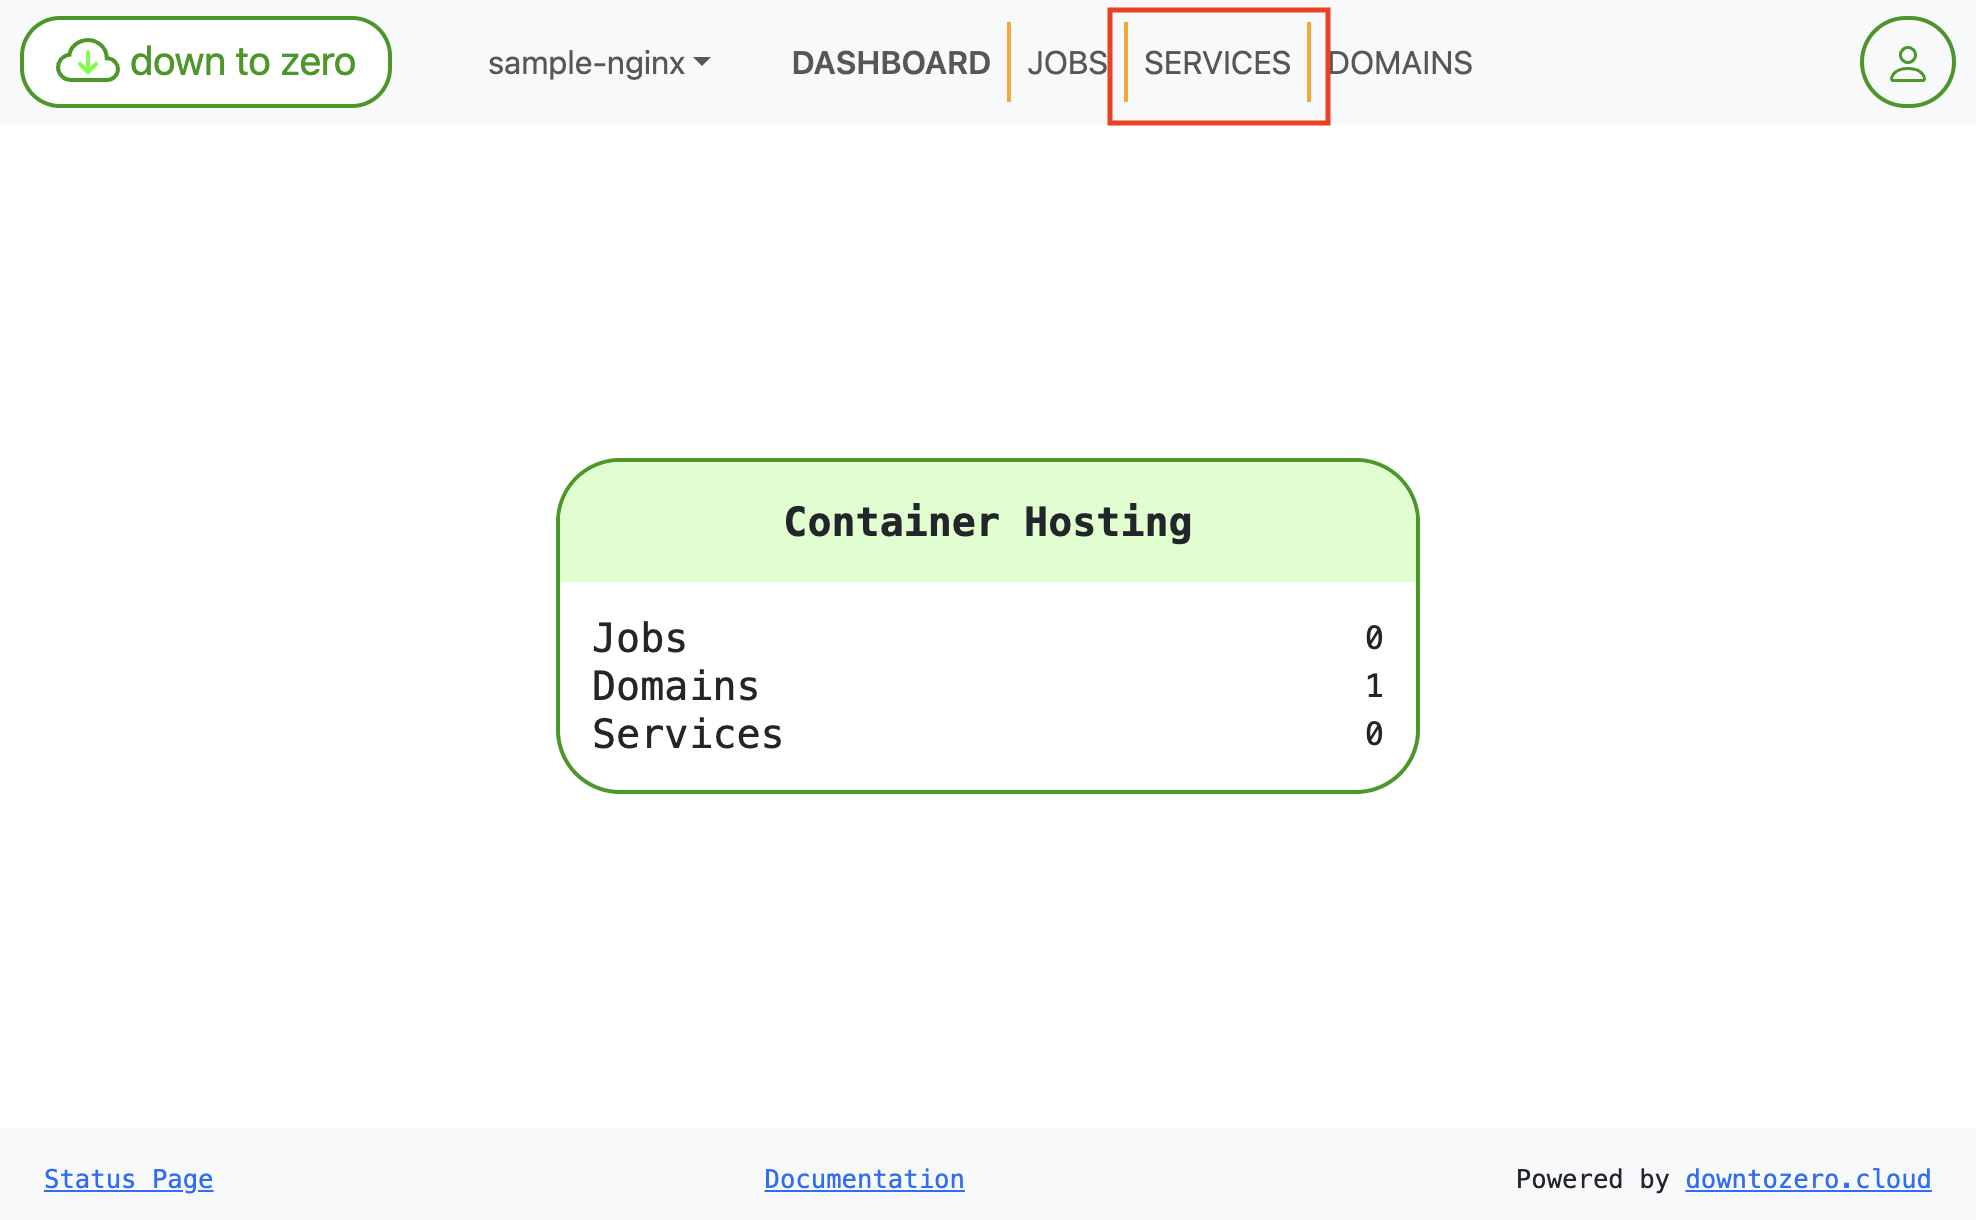
Step 3: Deploy NGINX as a service
-
Select the Services section
-
Click
Create Service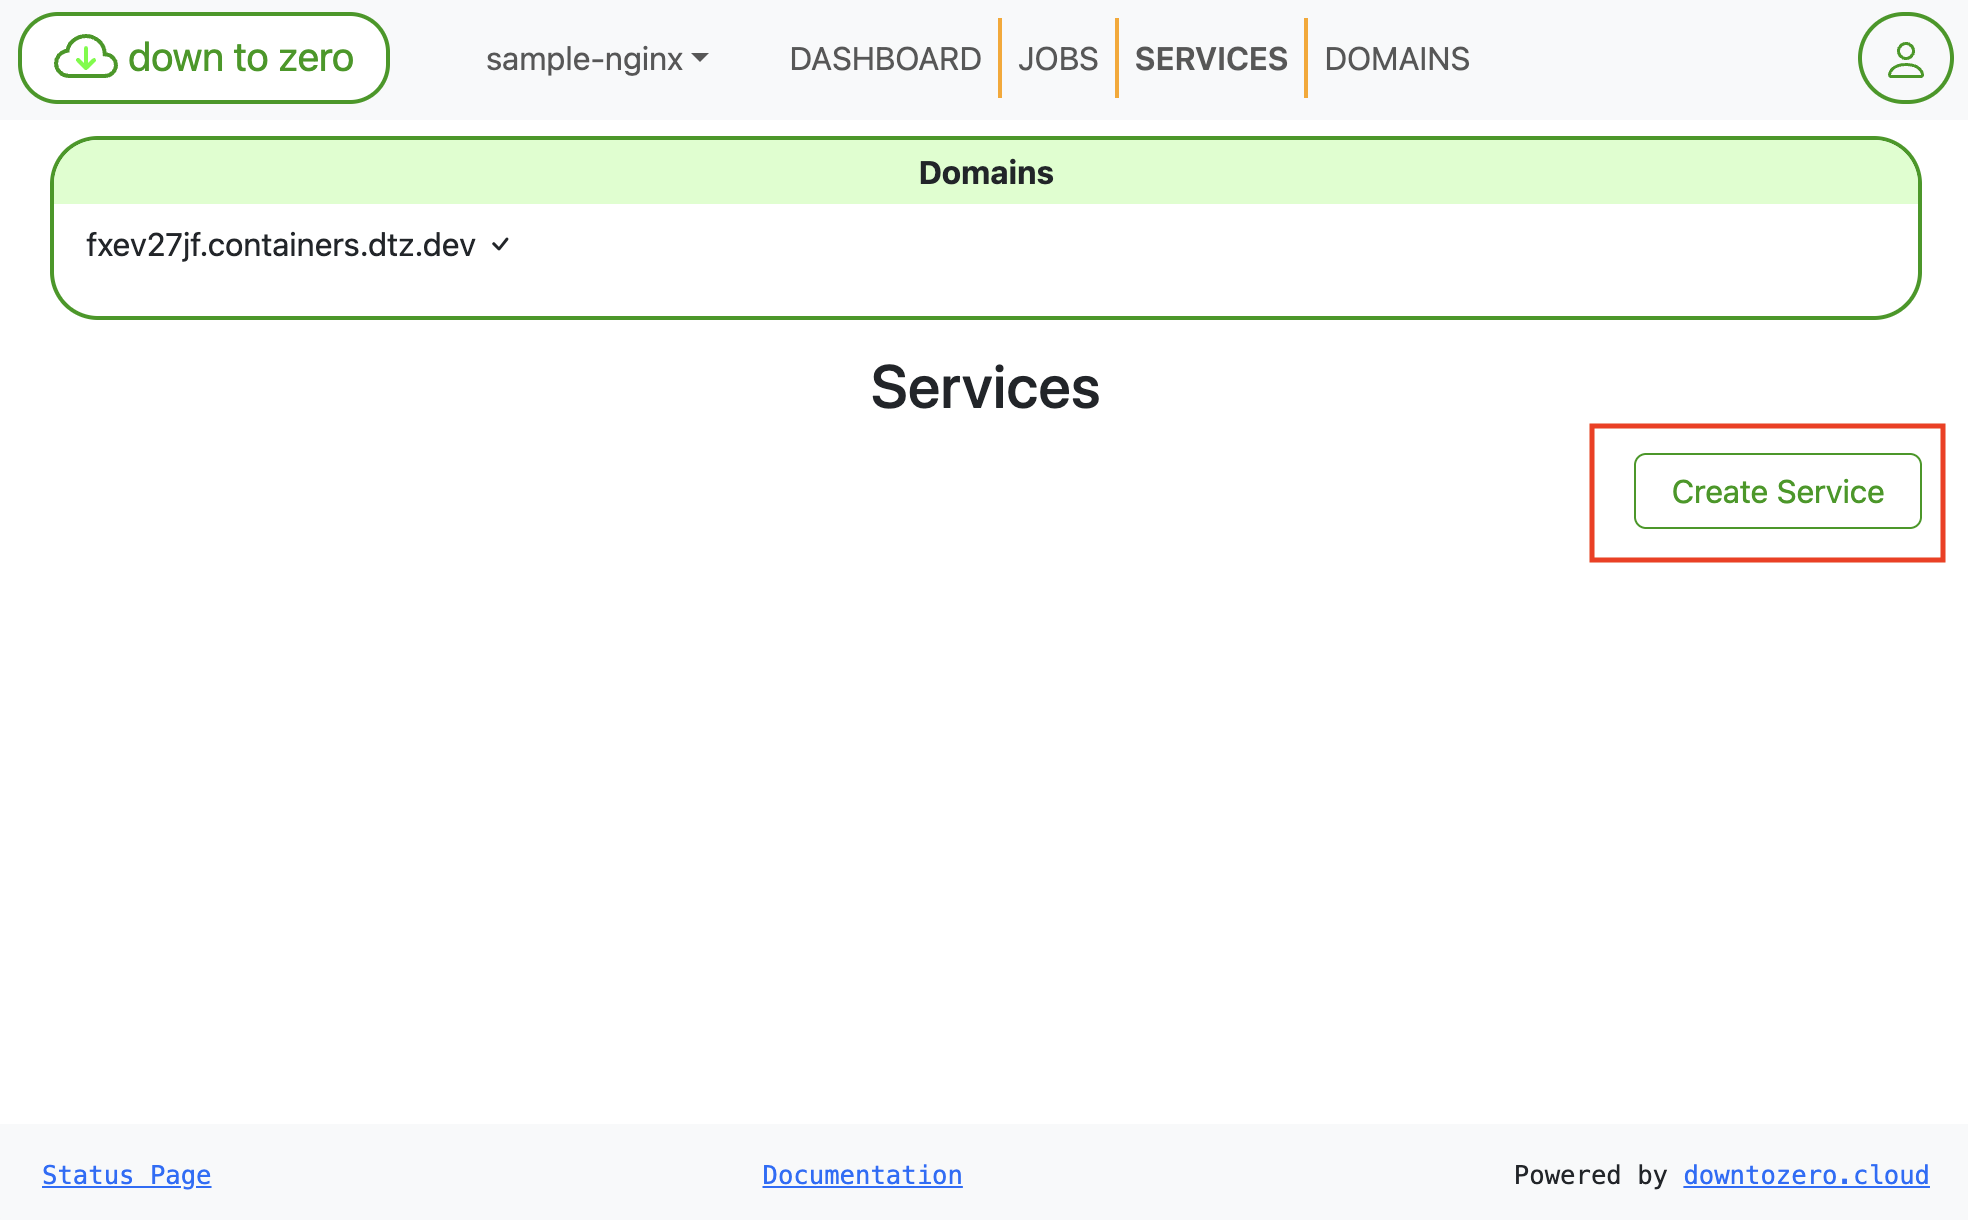
-
Enter the service details for NGINX
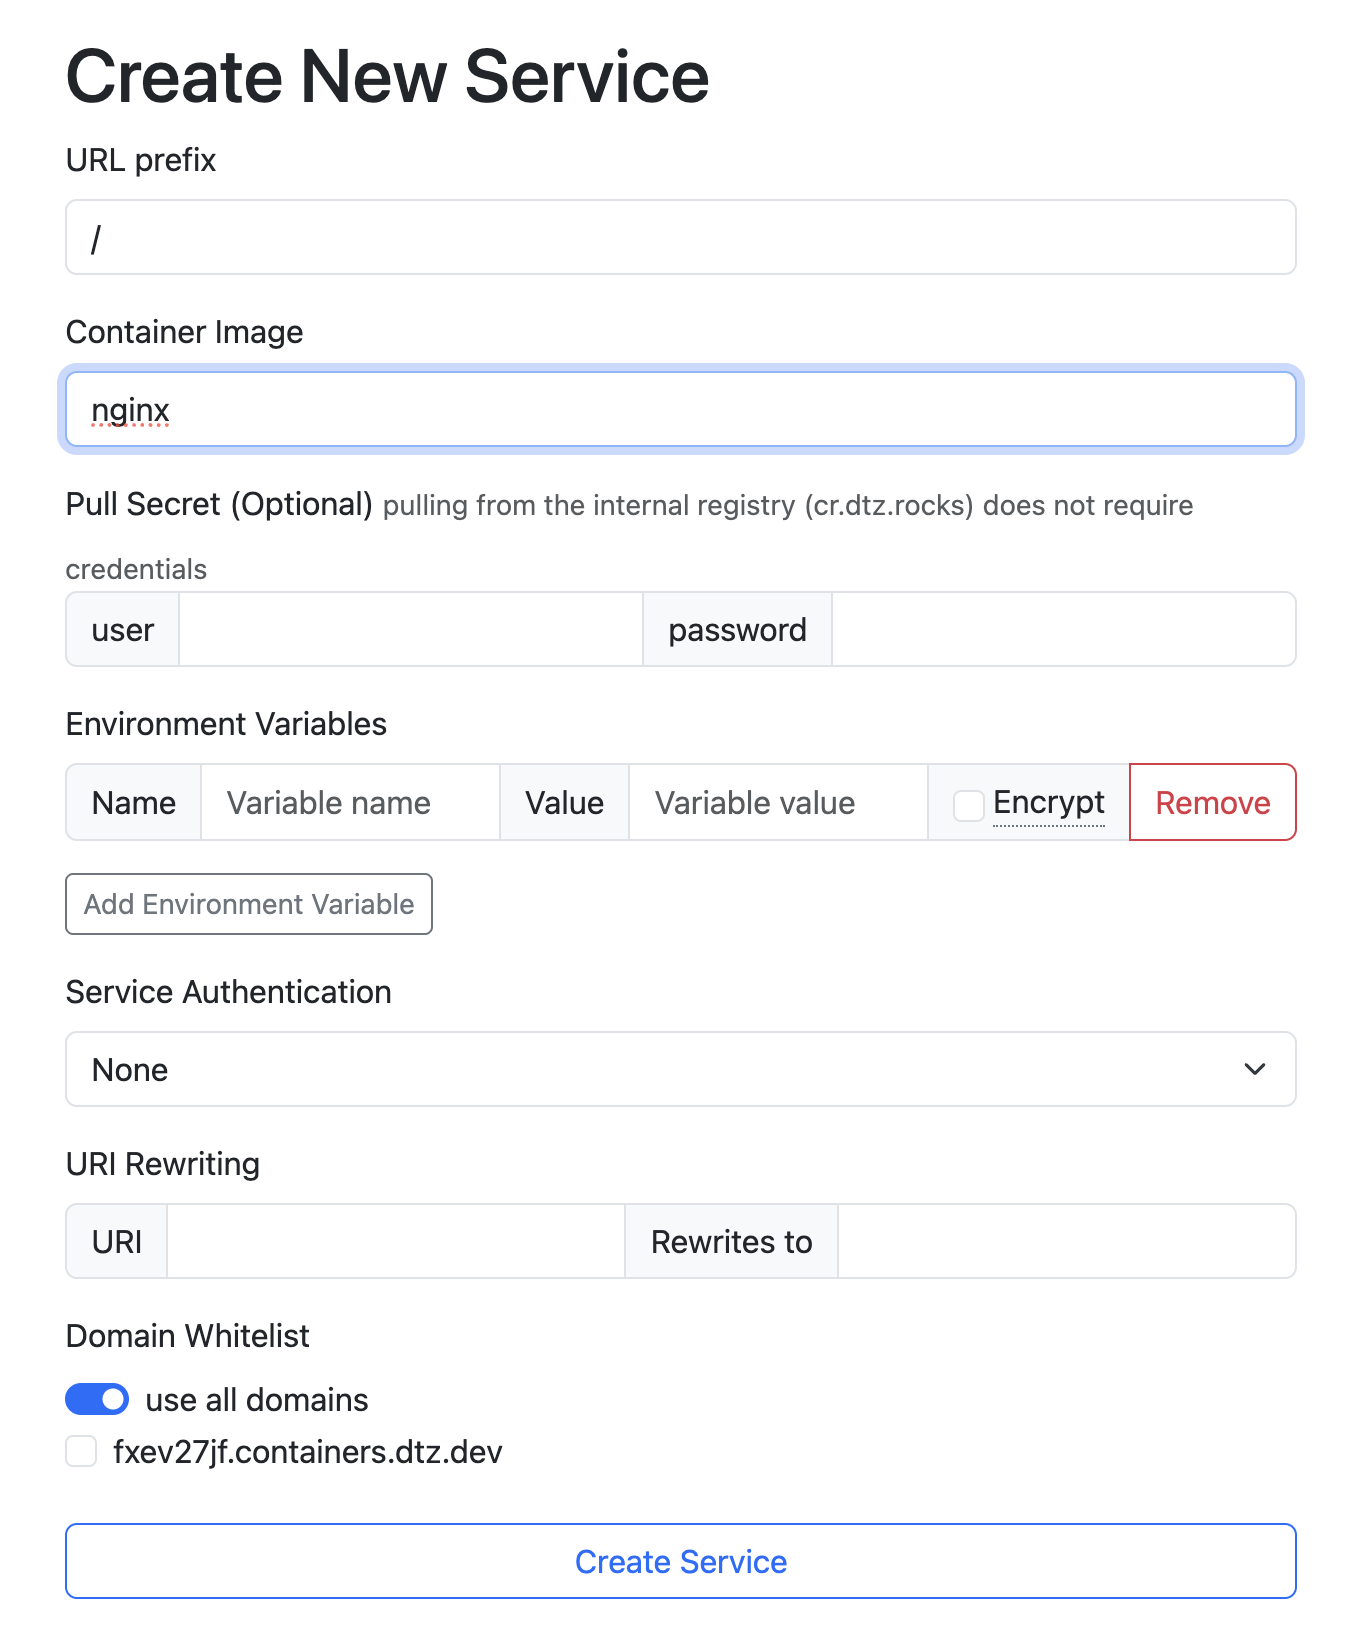
3.1. The prefix should be set to
/. 3.2. The image should be set tonginx. 3.3. ClickCreate Service. -
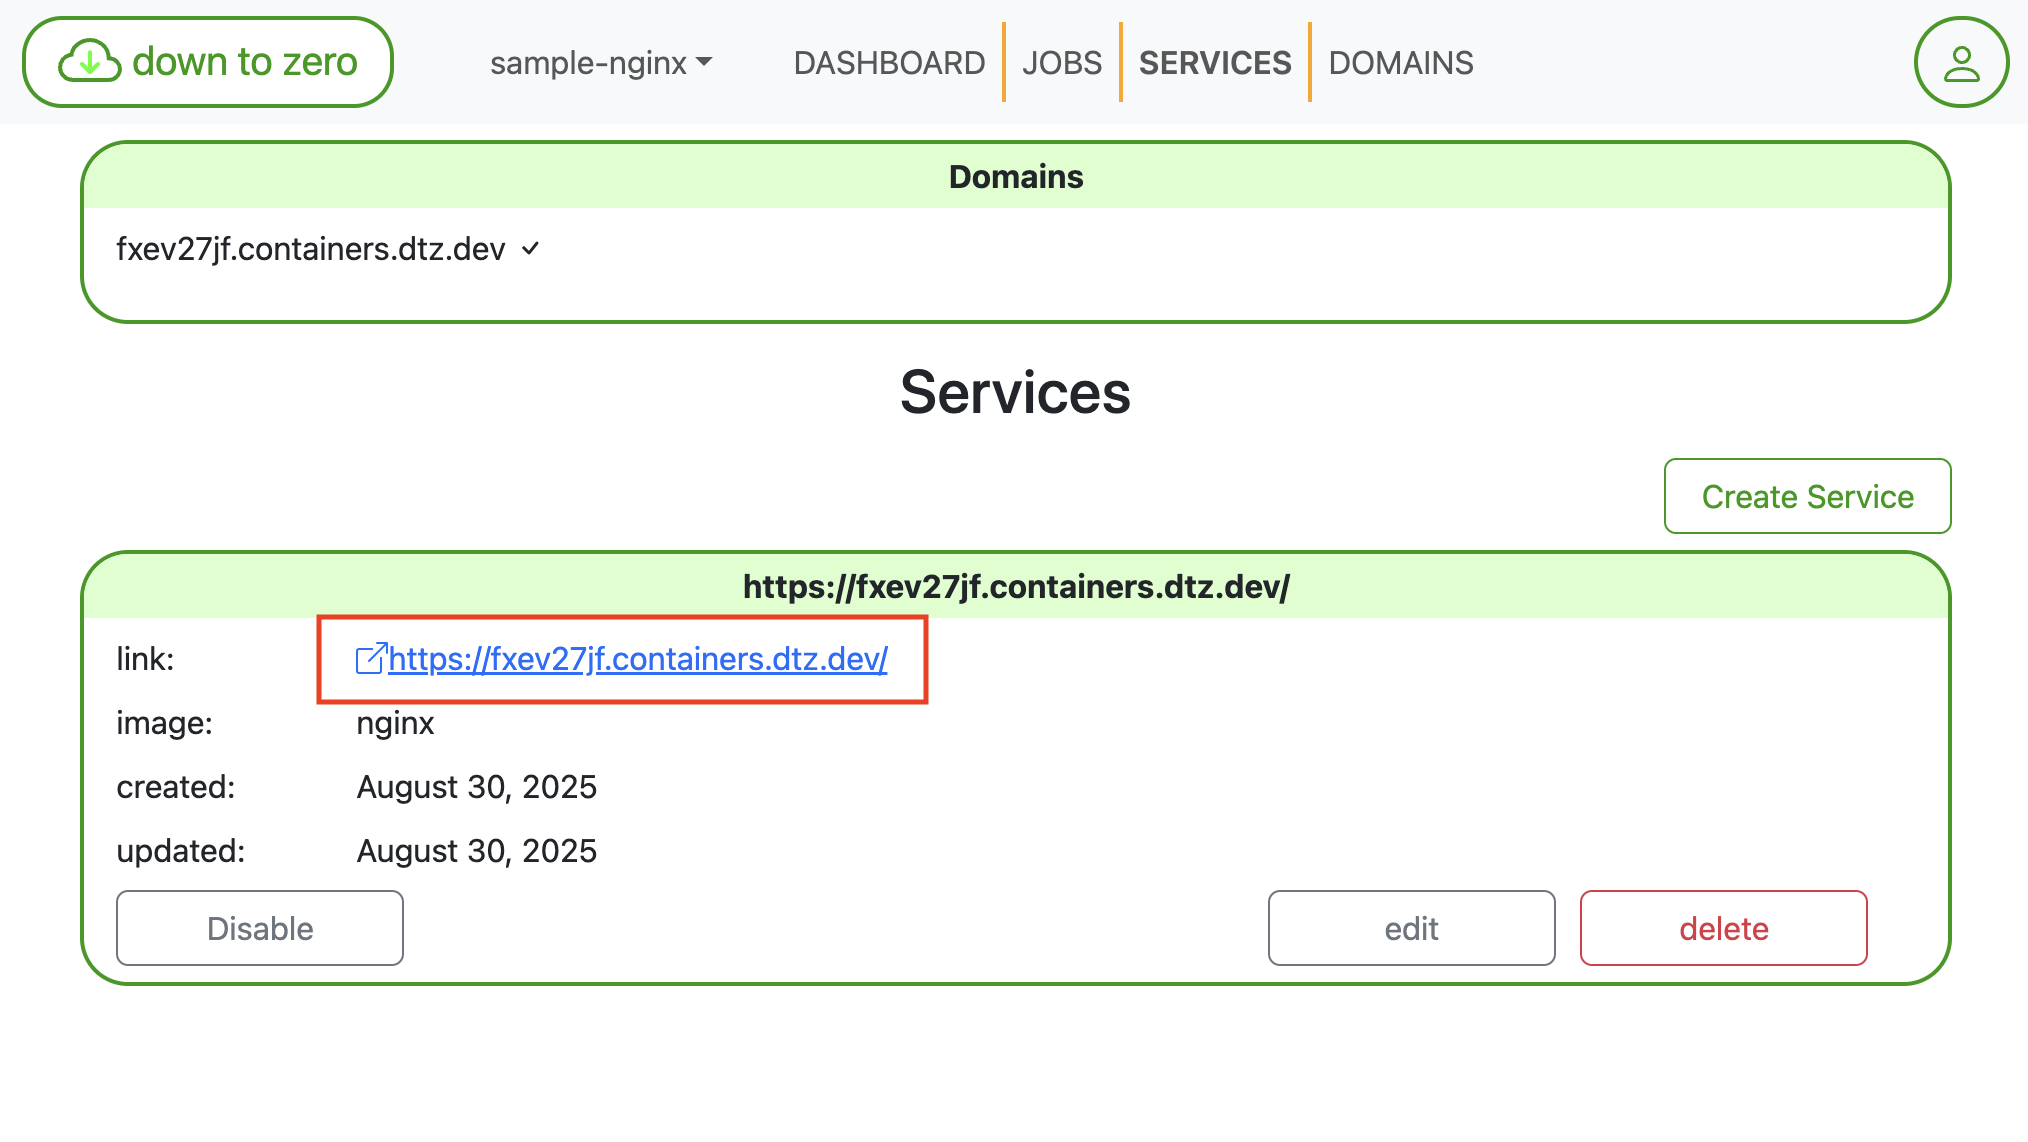
In the Service Overview, the new service appears with a service link
-
Create the service
This returns the following JSON.curl -X 'POST' \ 'https://containers.dtz.rocks/api/2021-02-21/service' \ -H 'Content-Type: application/json' \ -H "X-API-KEY: $DTZ_API_KEY" \ -d '{"prefix": "/","containerImage": "nginx"}'{ "contextId": "context-fxev27jf", "enabled": true, "serviceId": "service-ibok4vnd", "created": "2025-08-30T09:29:09.739001675Z", "updated": "2025-08-30T09:29:09.739002547Z", "prefix": "/", "containerImage": "nginx" }
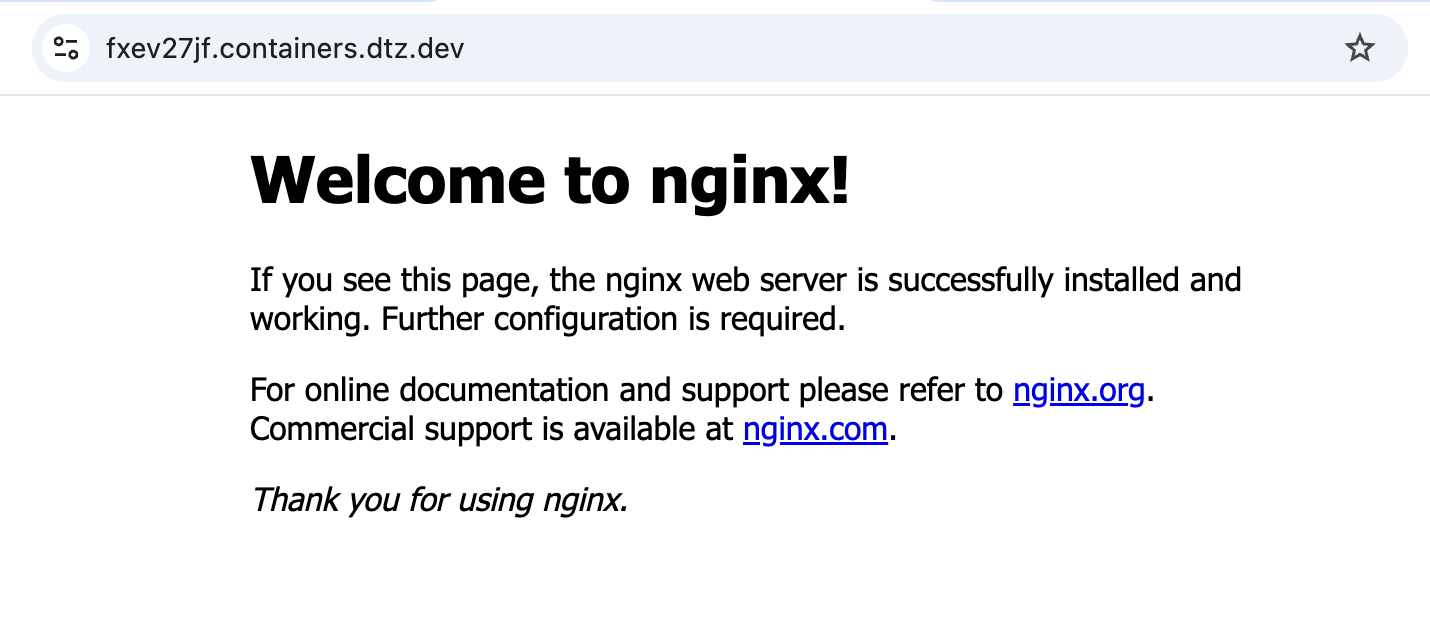
Step 4: Verify the deployment
-
In the Service Overview, click the service link
-
Verify the NGINX deployment
-
Fetch the generated domain for your context.
This returns the following JSON.curl -H "X-API-KEY: $DTZ_API_KEY" 'https://containers.dtz.rocks/api/2021-02-21/domain'[{ "contextId": "context-fxev27jf", "name": "fxev27jf.containers.dtz.dev", "verified": true, "created": "2025-08-30T08:45:26.656377567Z", "updated": "2025-08-30T08:45:26.656378477Z" }] -
Use the
namevalue as the domain to verify your deployment.curl "https://DOMAIN_NAME"
With this guide, you’re ready to start using DownToZero Cloud! Should you encounter any issues or have questions, please reach out to our support team at contact@downtozero.cloud.