Building our own nodes
Ever since we started measuring our energy demand, we also started to develop concepts on how we could improve energy efficiency. Customizing our own machines more then just the software seems obvious, but it is also easier said then done.
First we had to look out on what hardware we want to build upon. Most cloud providers start with rather heavy workload machine and are optimising for peak load. Our setup was different and we wanted to move the needle on the low end, not the high end. That meant that traditional servers were not really in scope for this task. Looking around the market, something between small form factor ARM or RISC-V machine seemed like an easy choice. sadly getting those machine into a more server like setup takes quite some preparation. Also we saw 2 properties missing from all of those setups.
- Battery to power the machine at night
- Power monitoring (preferably IPMI, but external monitoring would also be fine)
Required Features
- Battery
- Low power idle footprint
- Off-the-shelf hardware
- Power metering
One type of machine that almost perfectly fits these characteristics is the notebook. These machines usually have a small form factor that is already optimized for power consumption. Also those machines come with their own battery. The Problem here is, that Notebooks come with a lot of hardware (keyboard, monitor, touchpad) that we have no use for. So we started looing for some bare-bone notebook vendors where we could start evaluating.
This led us to frame.work. Framework is a notebook vendor who sells highly customizable, repairable machines. Also we already had a Framework machine around that we could re-fit for our experiments.
Workshop setup
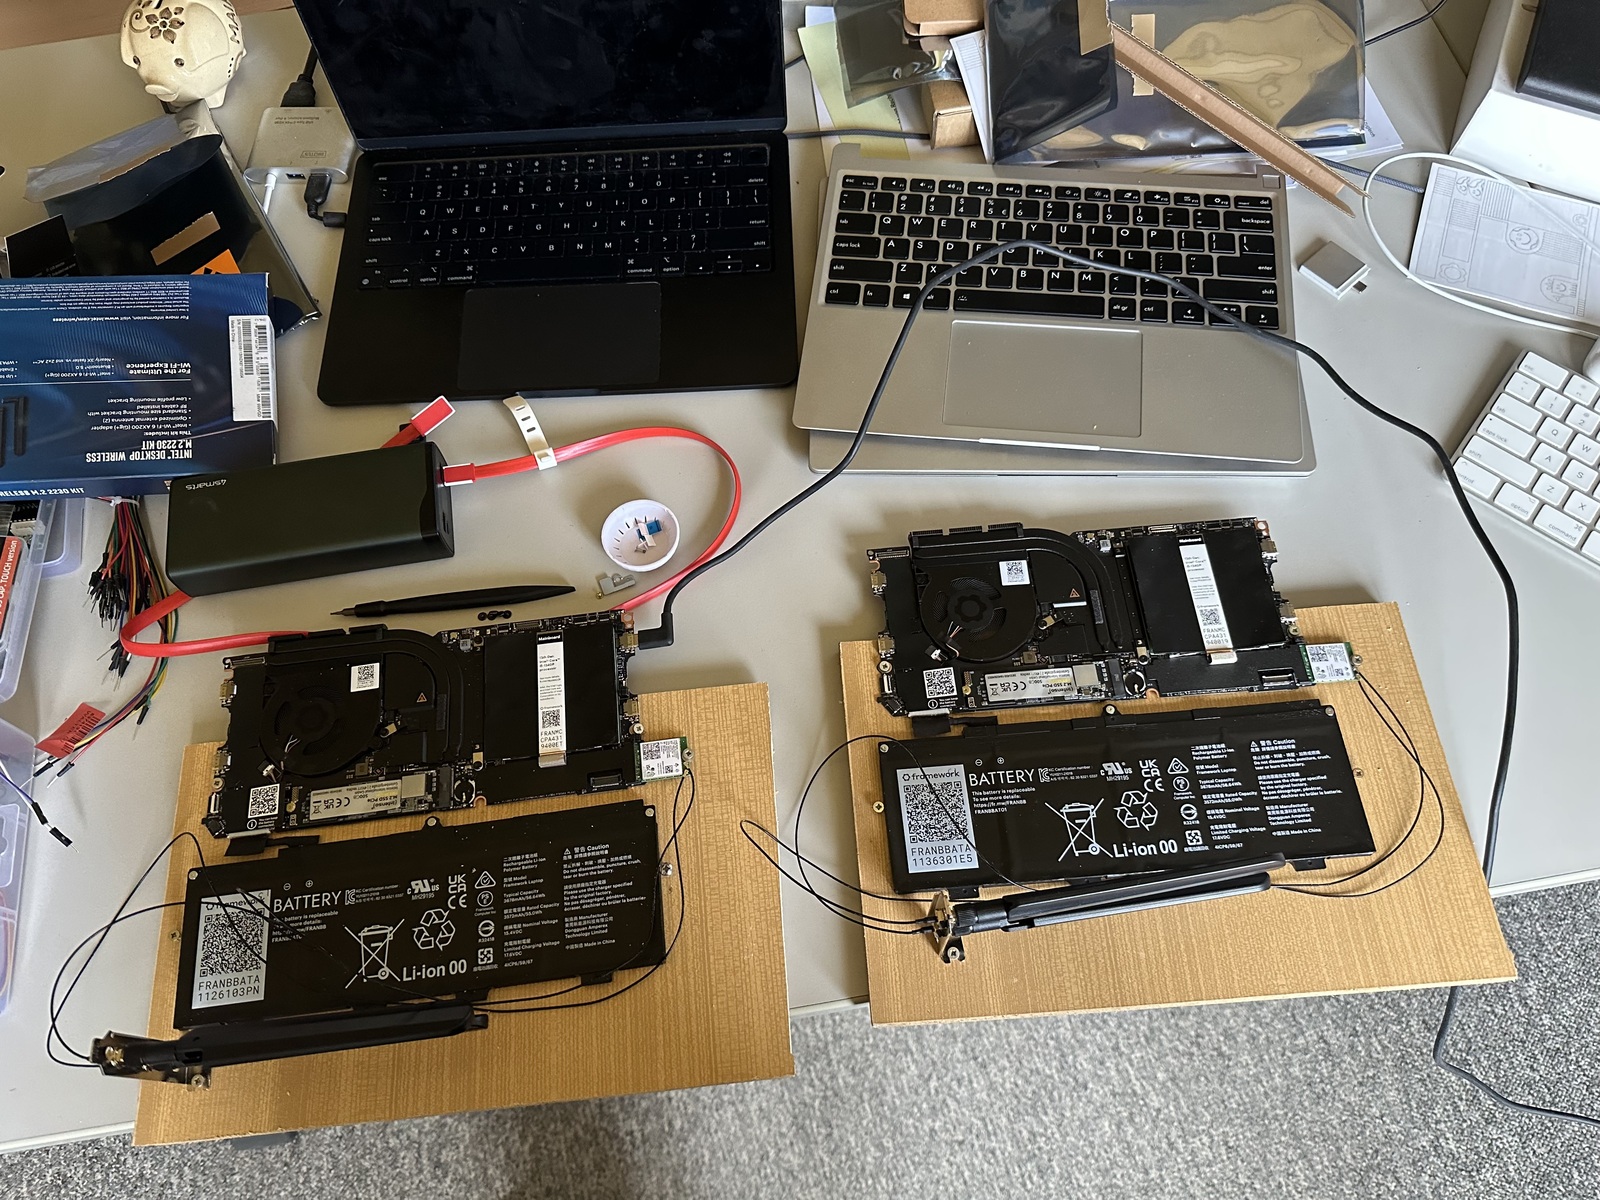
After testing our setup with the existing Framework notebook, we ordered 2 more ‘machines’. So what we basically ordered was the mainboard (i5 13th gen) with some memory and SSD, as well as battery.
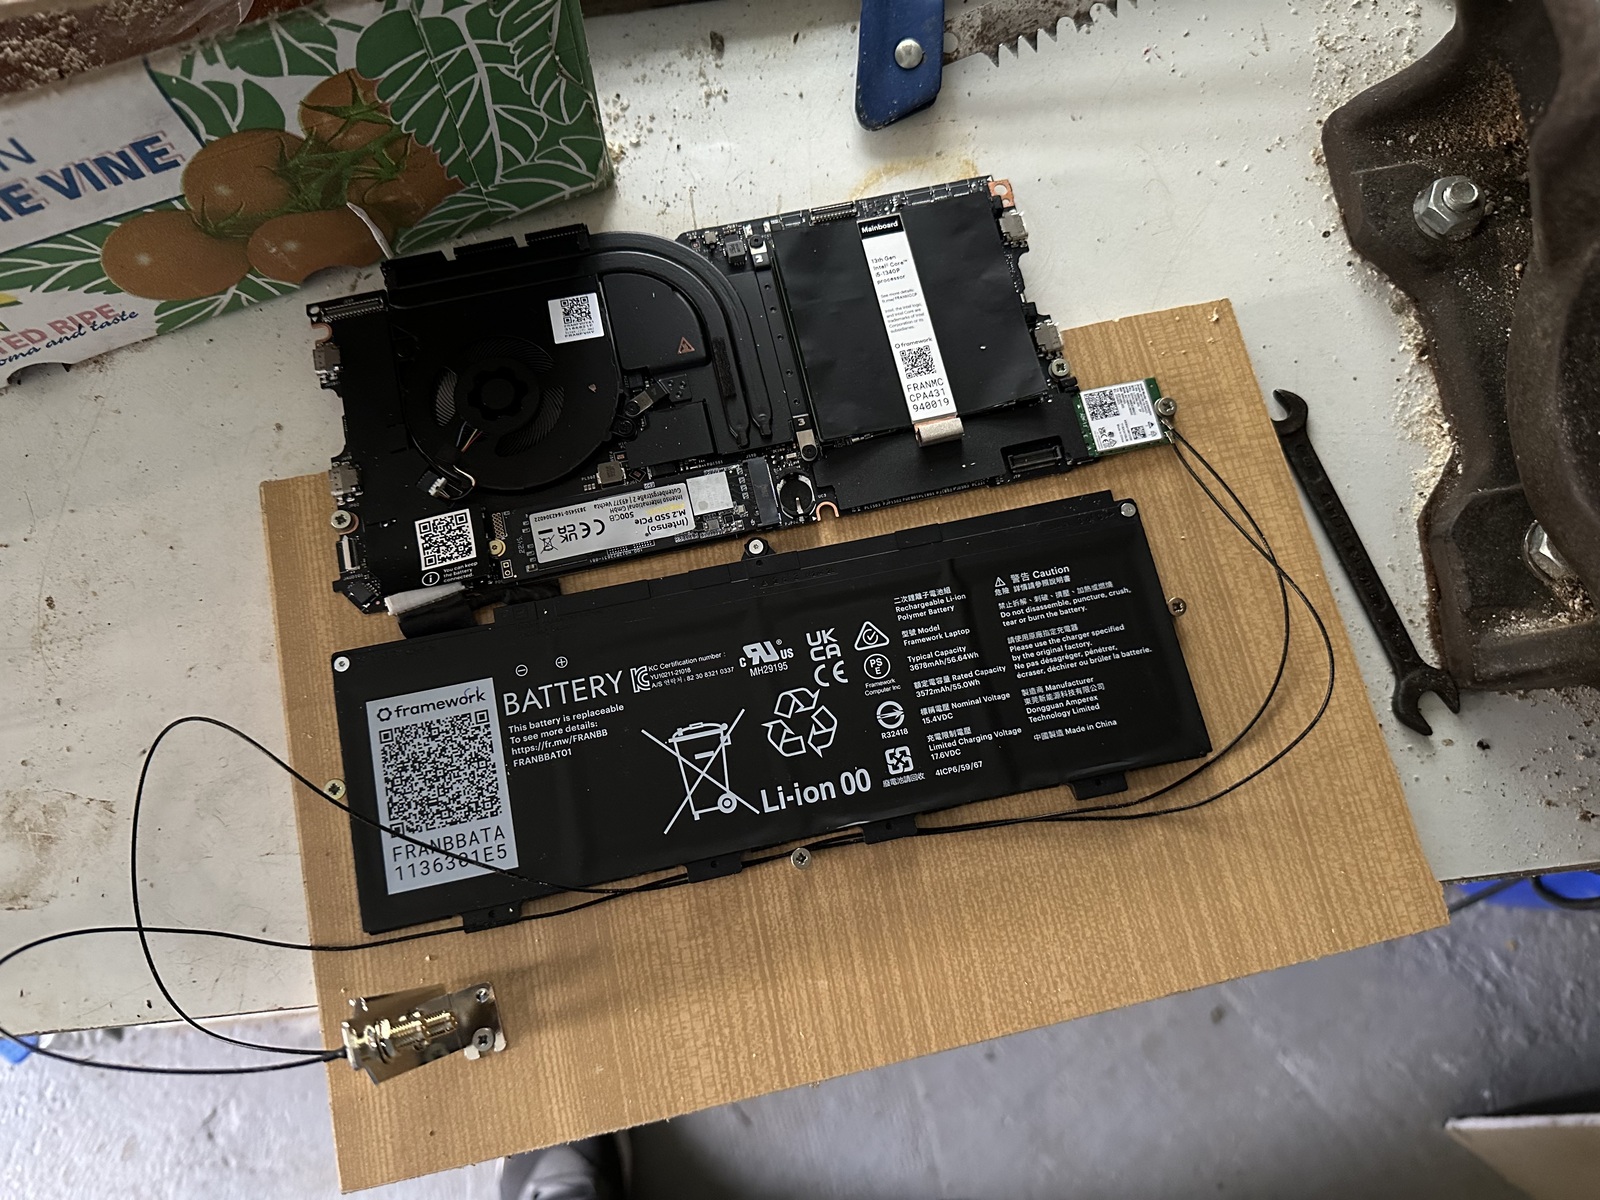
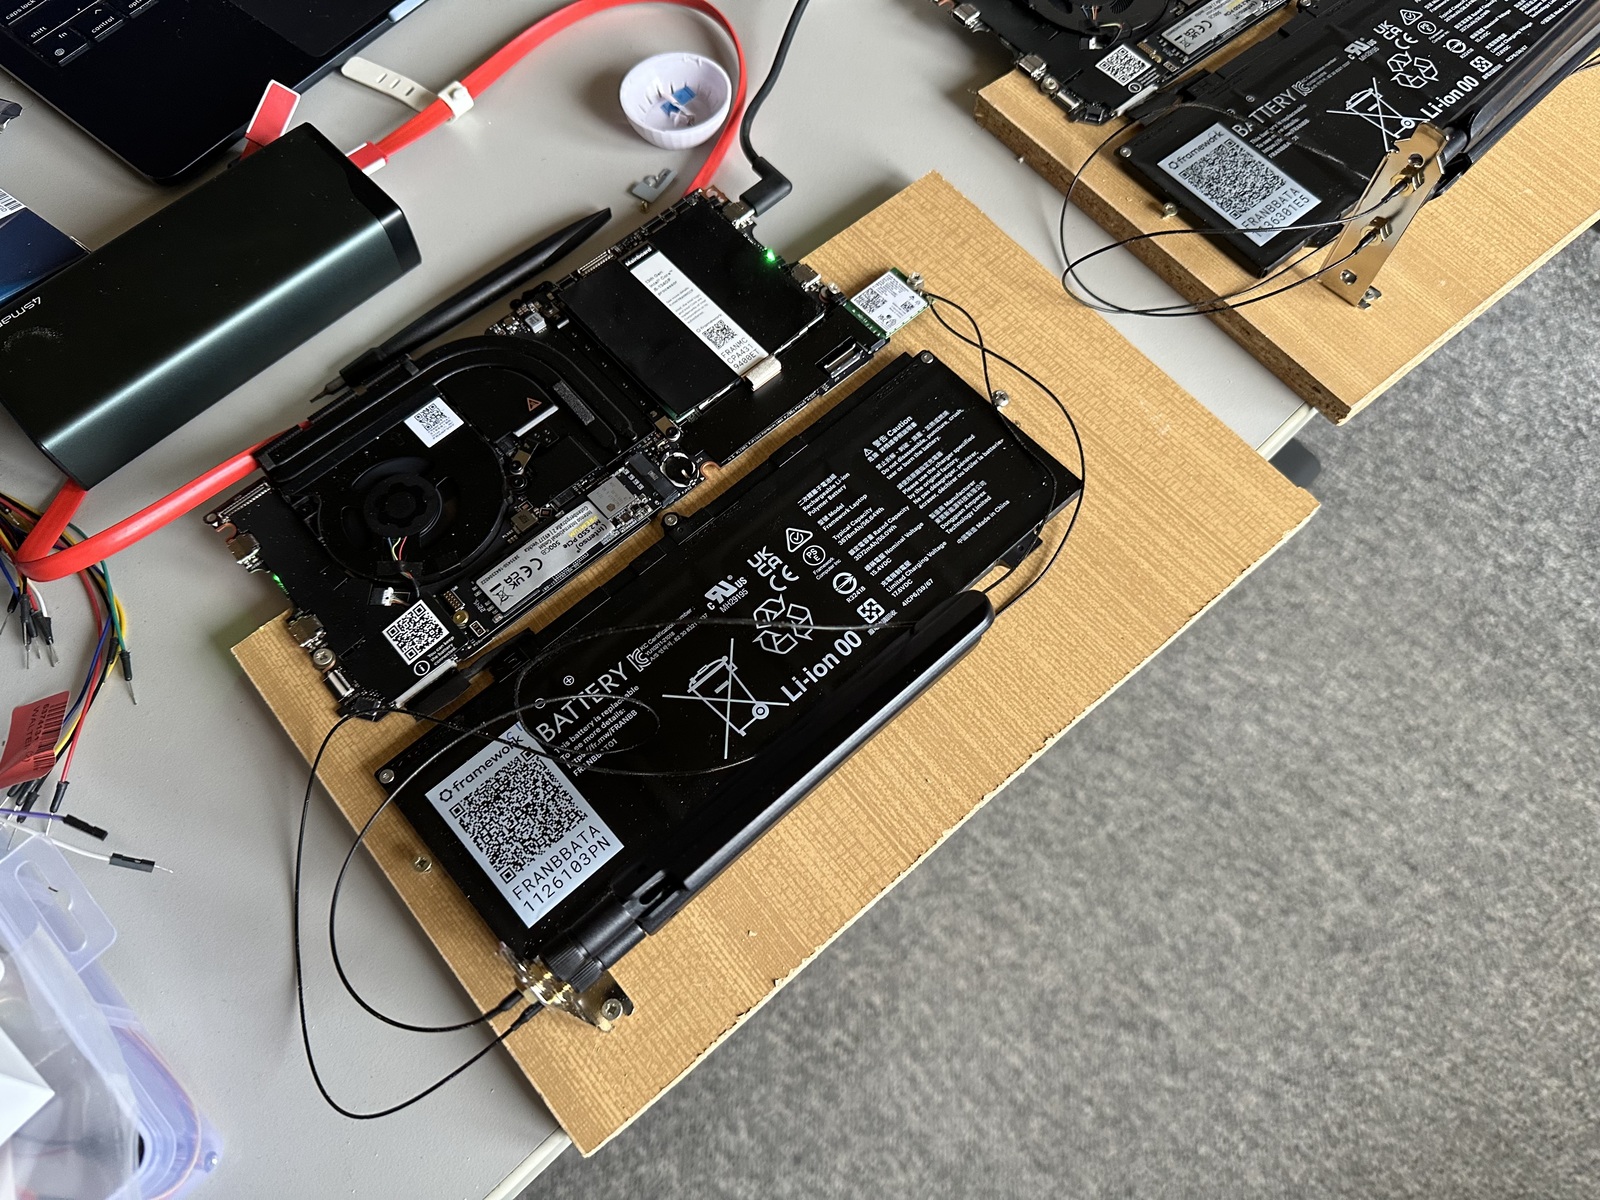
The assembly was just screwing the components on to a base plate and connect it to power. for netwrking we are using the WiFi. Here a shot of how we assembled the machine in our workshop.

Software
After having the hardware set up, we started looking at the software. Our base setup requires some Linux, but further then that we have not locked down any vendor or version. So we started with fedora, since this was also the software we used on our sample notebook. Sadly we quickly found out that doing an unattended install on a machine with no monitor or keyboard, and also no network (since we could not setup wifi) was something rather tricky. To not spend too much time on this conundrum, we opted for installing fedora on our sample notebook and just cloned the SSD over to the two new machines. This way we could build a base OS with keyboard and monitor attached to it and also preconfigure networking and SSH as required. After we got the clones SSDs we just screwed them back into our hosts and connected the power adapter.
First boot


After the first boot, we started to look into the power monitoring problem. At first we thought we could increase the battery capacity by plugging another commercially available battery into the USB-C port. Unfortunately, this did not work. It was very unreliable because the battery pack supplied not enough power for the notebook to actually load while it was running. So we had to skip this part of the project. That left us with the 55Wh battery that is included with the Framework.
Power Control
As we mentioned before, we wanted these machines to only run/consume power only when we were actually generating power from our solar panels. So we needed an external power plug that could both measure and turn power on/off. We decided on some CloudFree Power Plugs, but we will share on this later on. The important fact here is, those devices have a local API endpoint for both power measurement and on/off-switching.
Final Thoughts
So now we have the hardware setup. The software is also in place. Let’s try to run these devices and start optimizing things like charge cycle, consumption levels, and so on. For now, we will use these as async worker nodes to provide more compute to our stack.