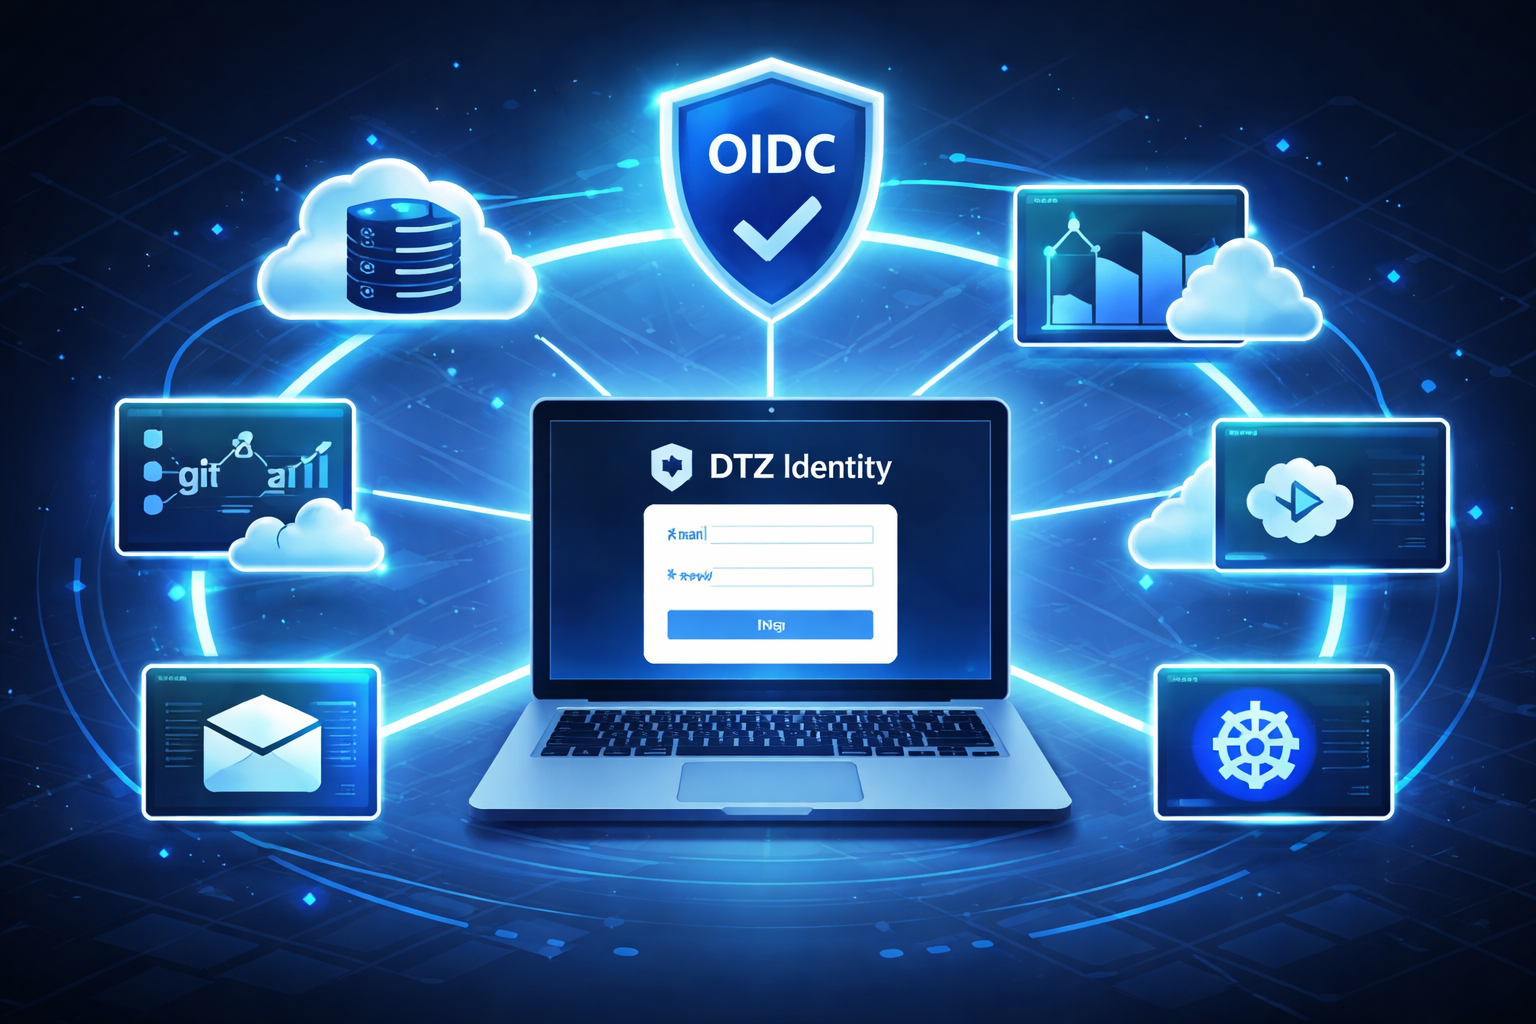
Use Your DTZ Account to Protect Any Service
Down-to-Zero has always tried to give you one identity for everything on the platform. Bearer tokens, API keys, the container registry, the MCP server — they all validate against the same DTZ Identity service. But that same identity service is also a fully standards-compliant OpenID Connect (OIDC) provider, and that means you can use it to protect anything that speaks OIDC, not just DTZ services.
If you already have a DTZ account and a context, you are already holding the keys. No new IdP to stand up, no extra subscription, no password database to maintain.
The insight: your context IS the OAuth client
Most OIDC setups require you to register an “application” with the identity provider and get back a client_id / client_secret pair. DTZ keeps this flat: your context ID serves as both. The context you already created for your workloads is the OAuth client. Set client_id and client_secret to the same context ID and you are done registering.
Auto-discovery does the rest
OIDC defines a standard discovery document that libraries can fetch to learn all endpoint URLs, signing keys, and supported scopes. DTZ publishes one at:
https://identity.dtz.rocks/.well-known/openid-configuration
Any decent OIDC library — Python’s authlib, Go’s coreos/go-oidc, Node’s openid-client, and countless others — will parse that document and configure itself. You never have to hard-code the token or userinfo endpoints.
A real example
Here is the environment block from a small internal dashboard I wired up recently:
export OIDC_ISSUER=https://identity.dtz.rocks
export OIDC_CLIENT_ID={YOUR_CONTENT_ID}
export OIDC_CLIENT_SECRET={YOUR_CONTENT_ID}
export OIDC_REDIRECT_URI=http://localhost:3000/login
export OIDC_ALLOWED_CLAIM=iss
export OIDC_ALLOWED_VALUES="dtz.rocks"
A few things worth calling out:
OIDC_CLIENT_ID==OIDC_CLIENT_SECRET— both are just the context ID. Not a typo.OIDC_ISSUERpoints to the discovery root. The library fetches/.well-known/openid-configurationfrom there and wires itself up automatically.OIDC_ALLOWED_CLAIM/OIDC_ALLOWED_VALUES— after the token exchange, the app checks that theissclaim in the returned ID token equalsdtz.rocks. That single check ensures only users who authenticated through DTZ can get in. You could tighten this further by checkingcontextsorrolesclaims if you want to restrict to a specific DTZ context.
The service fetched the discovery document on startup, derived the authorize and token endpoints, and just worked. Total integration time: about twenty minutes, most of which was reading library docs.
What the login flow looks like
- Unauthenticated user hits a protected route.
- Your app redirects to the DTZ authorize endpoint (discovered automatically).
- DTZ shows the standard login page. If the user is already logged in, this is instant.
- DTZ redirects back with an authorization code.
- Your app exchanges the code for tokens at the token endpoint.
- Your app validates the
issclaim (or any other claim you care about) and grants access.
From the user’s perspective it is a single sign-on experience: their DTZ credentials unlock the dashboard, the internal tool, the self-hosted app — whatever you choose to protect.
Why this matters for small teams
Running your own identity provider is expensive — in time, in infrastructure, and in the risk of getting security wrong. DTZ Identity already exists, already handles the hard parts (password hashing, token signing, key rotation), and costs nothing extra. Pointing your next side project at https://identity.dtz.rocks instead of spinning up Keycloak or Auth0 keeps the footprint small and the maintenance burden near zero.
That is the whole DTZ philosophy applied to authentication: do less, use what is already there.
Less infrastructure, same security — just point at the OIDC issuer and ship.